Wednesday 30
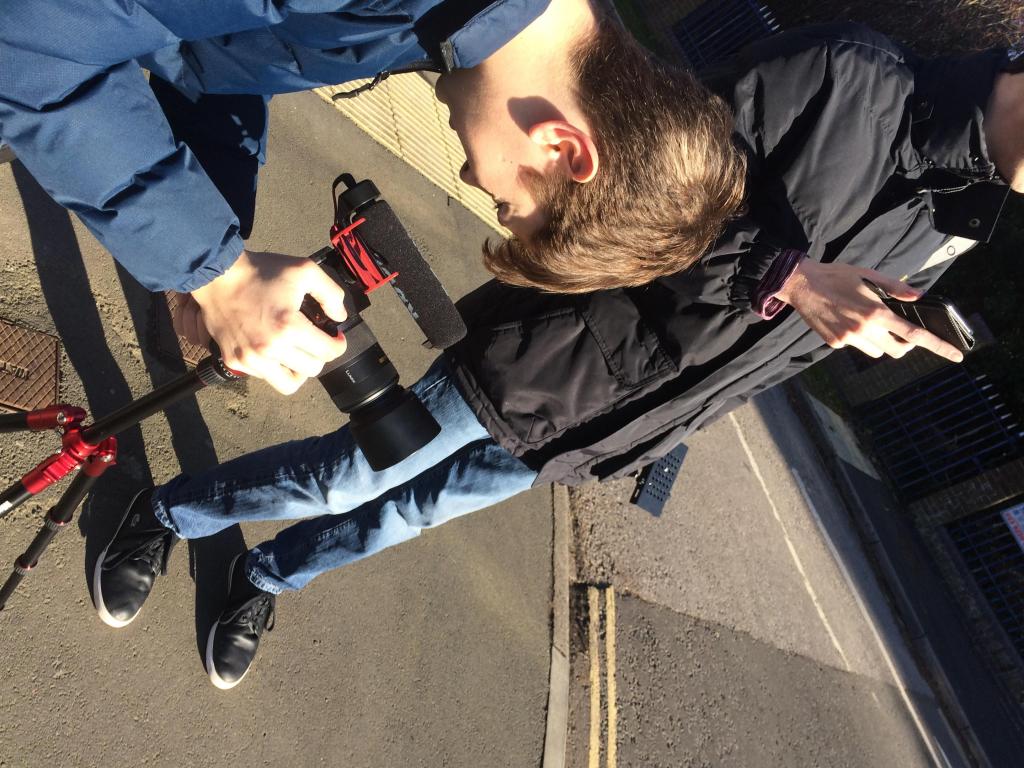
We went to Jackson’s house in order to film the required scenes and audio. We went about this by going over the shot list and systematically recorded each item that we were able to film, while recording each nessisairy sound separately
its a blog
Wednesday 30
We went to Jackson’s house in order to film the required scenes and audio. We went about this by going over the shot list and systematically recorded each item that we were able to film, while recording each nessisairy sound separately
Monday 28
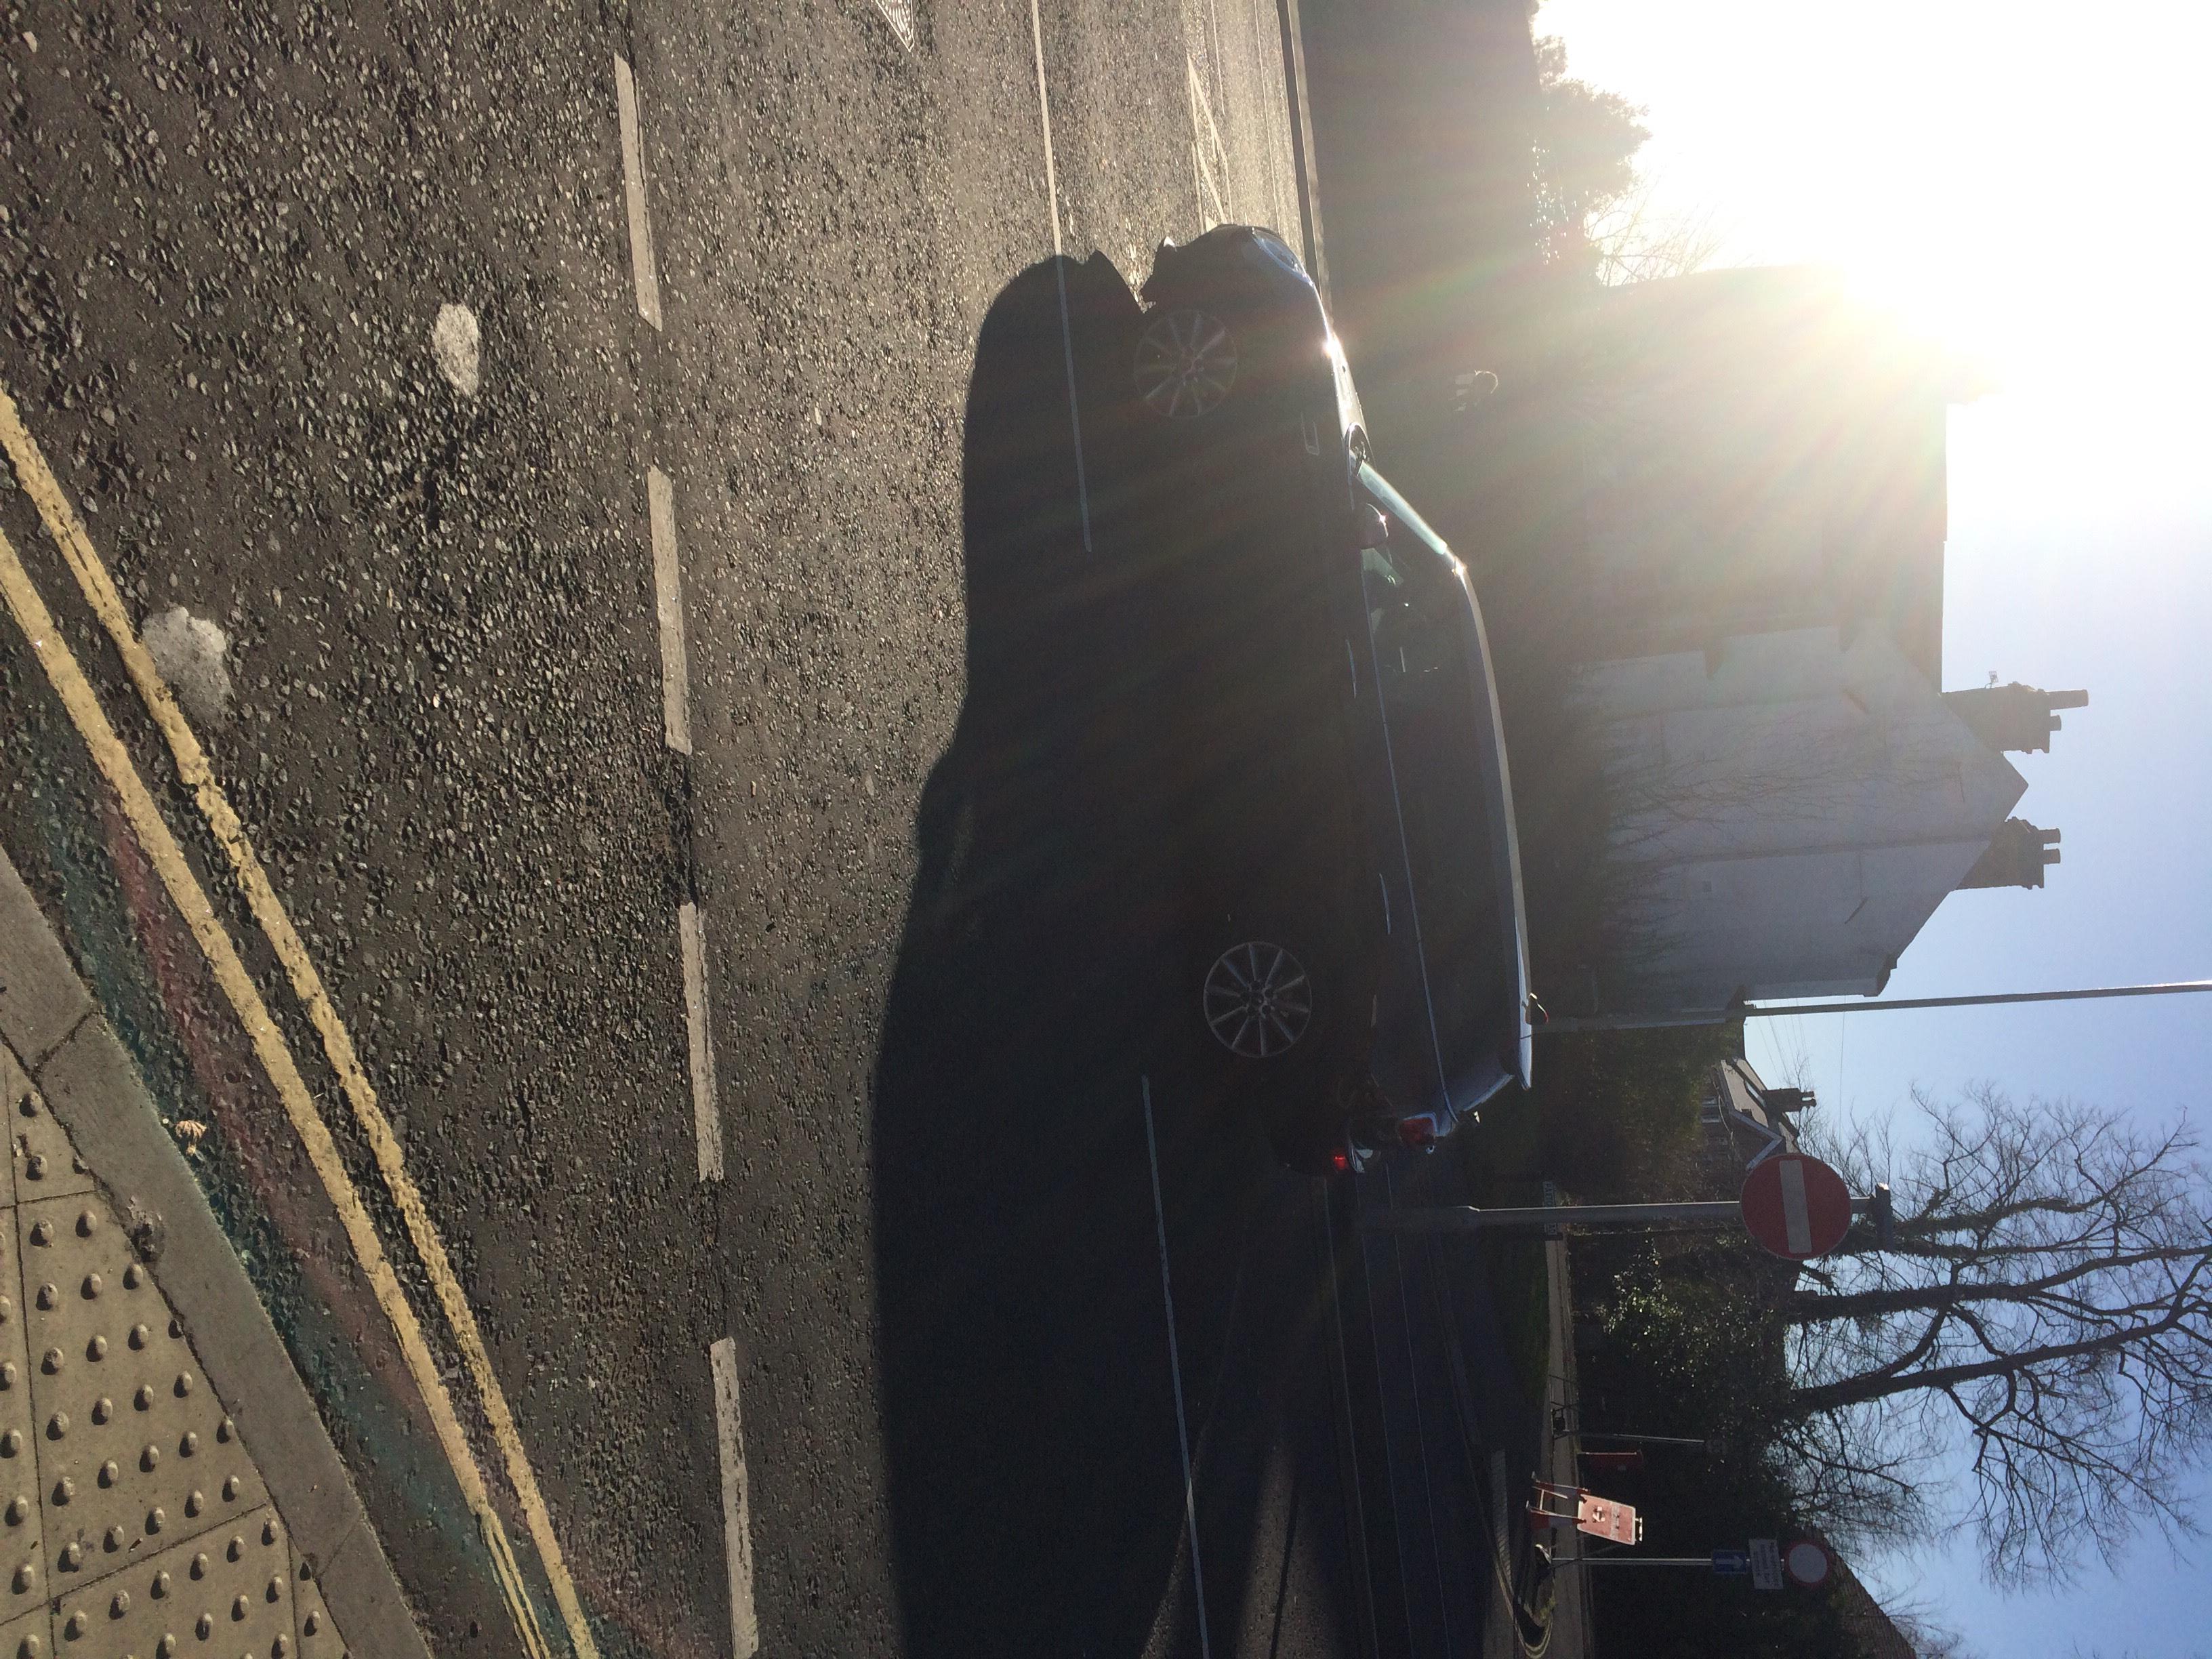
First day we completed the preproduction i did the sound list and helped the others out we did the shot list risk assessment and the script this meant we could start filming immediately so we went down the road and filmed the first part of Jackson running
A story is a sequence of events
Narrative is telling of the sequence of events
Narratives give audiences
narrative theorys
7 basic plots
Narrative forms
Narrative types
Narrative devices
Script writing
Dialogue the dialogue is indented for the actor name of actor is bold action marks to give the script tone
The font size is always 12 courier/courier new first ten pages need to be the best
Caps the first time a character is met
Page of script is a page of screen time write what you can see have distinct characters
A “colourist” is someone who corrects colour in footage. A colourist is someone who makes the camera image less “flat” They edit raw or flat images so they can edit more. They want a seamless the colourist will want the audience not to know that it has been colour graded. They have to look at everything and have to make the scene fit the easiest colour corrector on premier pro is the colour wheel
Colour grading is used after correction this includes using scope and waveforms. This is utilised on third party software, you start with removing noise correct the colour temperature you adjust the shadows then the whites then you adjust the mids (the rest of the colours) then add any filters that are appropriate.
Exposure correction you can correct exposure using blend modes. Using darken and lighten blend mode among 3 other blend modes you can combine blend modes to make better effects.
LUTs
LUTs are colour filters that changes colours to another colour LUTs need programs to run onto media the
Adjustment layers
good videos to watch to help understand
Build a sequence: Import footage on to premier pro get rid of the rubbish stuff then assemble the footage in order
Refine sequence: trim and cut footage as necessary don’t have dead air
Building a soundtrack: create a suitable ambient track add dialogue and sound effects add music use l and j (to smoothen/hide audio or video cuts mix the volume so nothing is in the red.
Adding titles use simple titles Use after effects and make a link so you can edit using after effects and it will update premier pro
Colour correction and grading: correct the white balance change the contrast be subtle if you are too obvious you can
ADR – automatic dialogue replacement when you change the audio after post production. ADR is the process of replacing the audio after it is shot on set, the actor may replace a talking to censor or replace with singing it can also be used for creative proposes. Before the movies try’d making different movies before dubbing it is not uncommon to completely replace all audio partial ADR is not recommended
Visual ADR is when the actor watches the scene and replaces the dialogue. Auditory ADR is when the actor listens and repeats this is used for musicals rather than regular scenes
Foley sound – it’s very common of using the sounds can be used from anywhere but it isn’t the original sound it is an imitation often using props to mimic sounds
Music – its not just a popular piece it is usually an underscore. Should be royalty free. Sound bridging is when audio bridges two clips using layers to smooth transitions. Then you have to mix all the sound first is the ambient or background then Foley and dialogue and finally music after you mix the volume
Equipment
Battery’s will deplete faster in the cold
SD card needs to be formatted to configure it to the cameras setting
Check if you have the right lens kit for different shots
Use light meter to configure ISO (640)
Ensure shutter speed is 2x ISO
Panning fast pans are called whip pans can be done practically with limited tripods
Tilt camera moves up this moves the focus from the bottom to the top
Tracking the camera moves to follow a moving person or object
Backwards tracking shot Lateral tracking shot forward tracking shot
Steadicam makes the camera stable
Snorricam stays on you as a tracking close up makes you focus on actor’s motion
Conrazoom/dolly zoom background stretches where person moves toward the person changing the background while moving the foreground
Conrazoom was invented during vertigo
Dutch angle where the camera is not flat
Crane/jib/drone gets aerial shots it also acts like a gimbal
Push and pull focus changes focus during filming to change the focus of the shot
Breathing using push and pull focus to go to and fro between 2 subjects
Camera setup
Pixel aspect ratio (720 1080 4k) the number relates to the height of the picture in pixels you can change this in the resolution tab
Frame rates (24fps 30fps 50fps 60fps) the larger the number the smoother the video the higher fps the smother and easier to slow down
I.S.O below 540
Shutter speed 1/50 for decent light
Aperture use light meter
Format the SD card
Shot reverse-shot
The brain uses the 180degree rule to establish the special awareness
Lighting the scene
Using fill lights key light background light to create silhouettes and other effects
Setting up project save projects to large space that has ram
Sequence to match the camera footage settings
Workspace settings should be set up efficiently
Assemble footage by ordering the clips to a coherent quality and order
Build the soundtrack using layers (dialogue music SFX background and ambient noise)
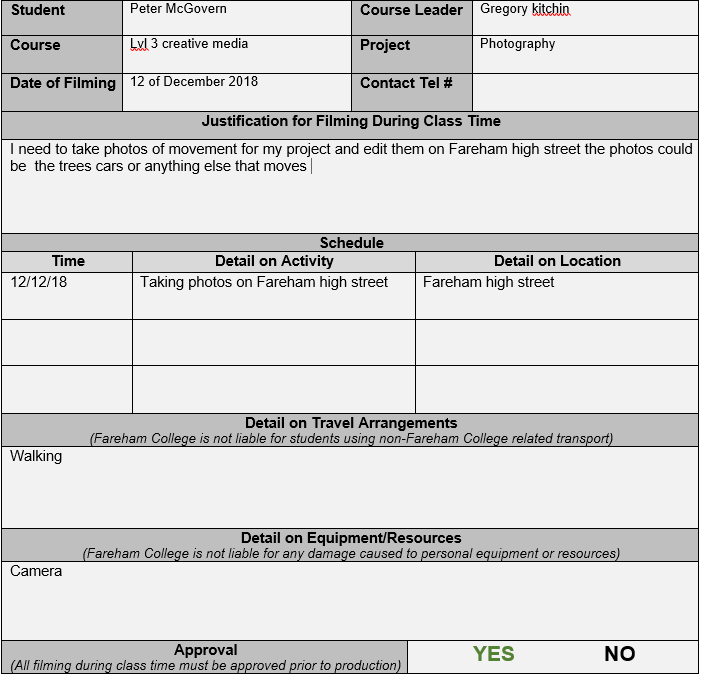
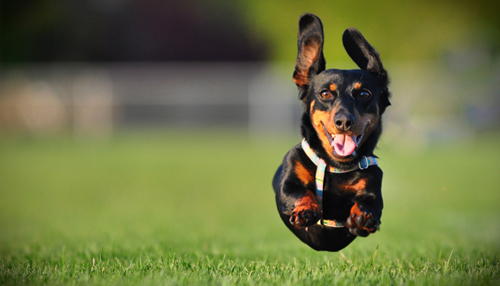
today i did my off site form to get most of tomorrow off to take photos of movement photography the high street is the best place for this.